
How to send out a Flu Campaign
Now with all elements created, we can send out our message:
- Click on Campaigns found on the left-hand side menu
- Click on New Message
- You will be directed to the Select Recipients page

On this page you will select your Season Flu Invitation group:
- Refer to the Select Recipient Group(s) box on the bottom left
- Select the Seasonal Flu Invitation group and then click the Move Selected arrow to the right
- This will move the patient’s names and details to the Recipients box to the right
- Now click Next at the lower right of the page
- This will direct you to the Create Message page.
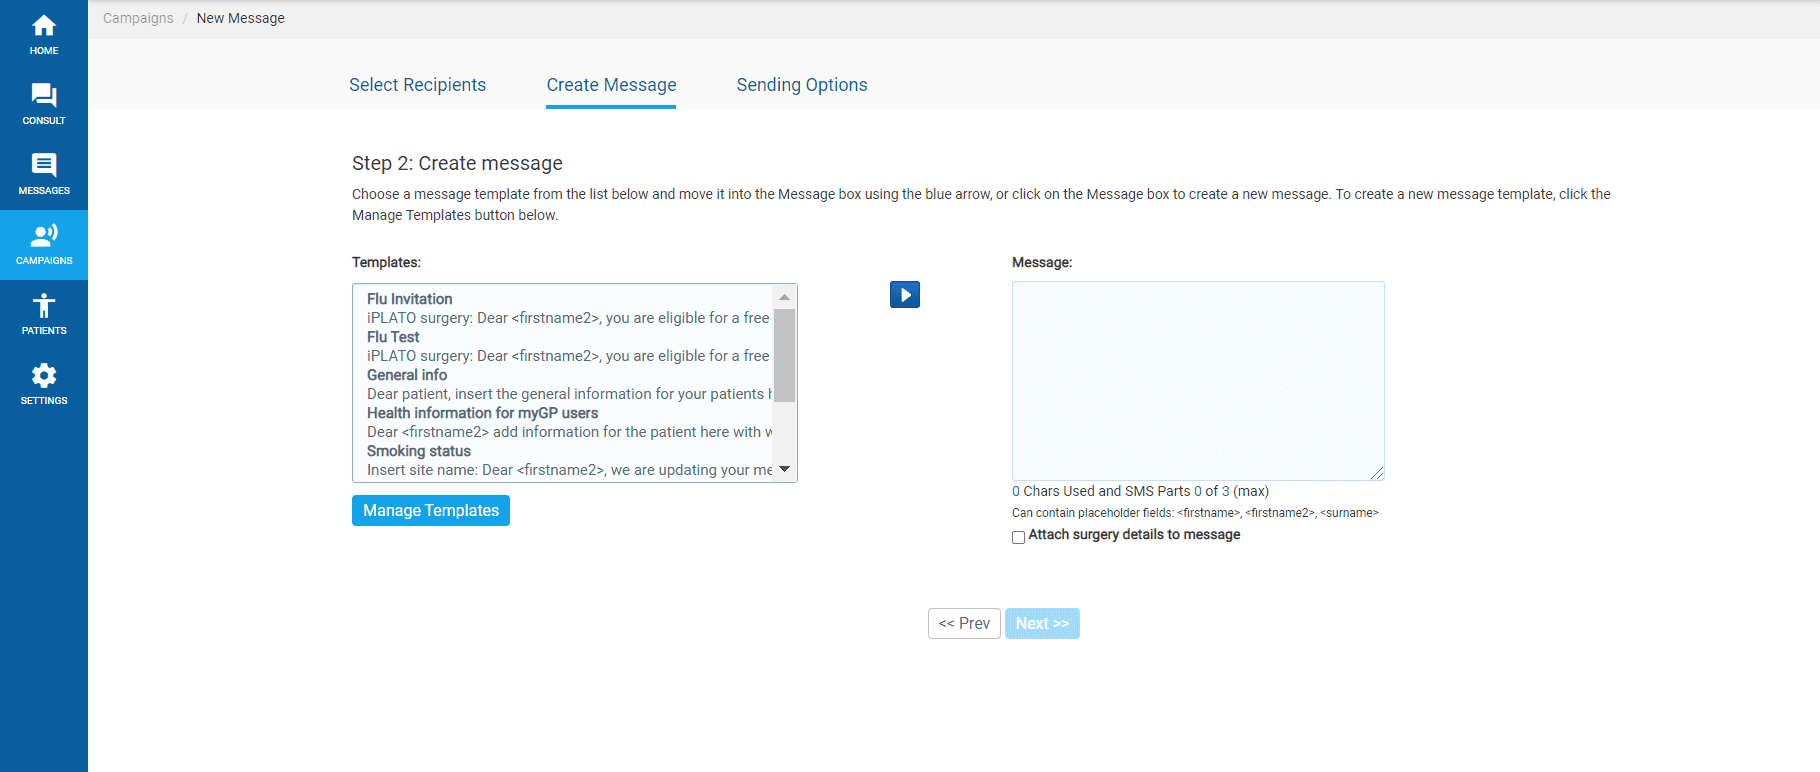
On this page, you will assign the Seasonal Flu Invitation template you created:
- Refer to the Templates box on left
- Click on the Seasonal Flu Invitation template
- Click the Move Selected arrow
- This will move your template to the Message box to the right
- Click on Next
Please Note: If your message exceeds 160 characters, it will cost more then 1 credit to be sent out. A pop-up will appear to notify you of this. Click OK to proceed.
- You will now be brought directly to the Sending Options page.

This is the final step to send out the campaign message:
- Choose your Sending Options
Choose a time for the message to be sent, either Send Now or Send Later
- Assign the clinical code to message with Read Code
(Optional) – To add an additional Read Code/ Snomed when the message is delivered, select the Add button and type in the clinical code required, then select Save.
- Reassign the Reply Email if necessary
(Optional) – SMS responses are sent by default to the email address saved in your user details. To send responses to a different address, click the Change button, tick the Custom box, click into the Add Email field, and type the preferred email address. Then click on the plus button and click Save.
- Click Confirm to Send
- You will receive a Message Confirmation Summary pop-up box
(Optional) – If you wish to change any details, click Cancel, then modify what is necessary.
- If everything is correct, click the Send
- You will receive a confirmation pop-up message
- Click OK
Your campaign message has now been successfully sent.